
Follow below steps to integrate CyberArk vault server with LDAPs:
Table of Contents
Pre-Requisites
- There must be connection between the Vault and the directory server (TCP 636)
- Vault Server must be able to resolve the domain controllers (As vault is hardened and does not use DNS, we will simply add the DC servers list in the hosts file located in “C:\Windows\System32\drivers\etc”
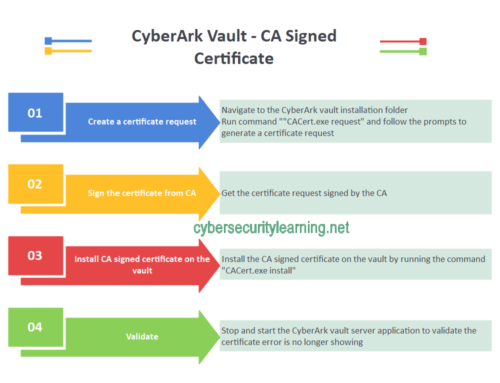
- CA root certificate must imported into the Vault Server certificate store
- A bind user (read only AD user) is required to read the information from the directory
- AD groups created to define vault user roles
Steps to Integrate CyberArk With LDAP’s
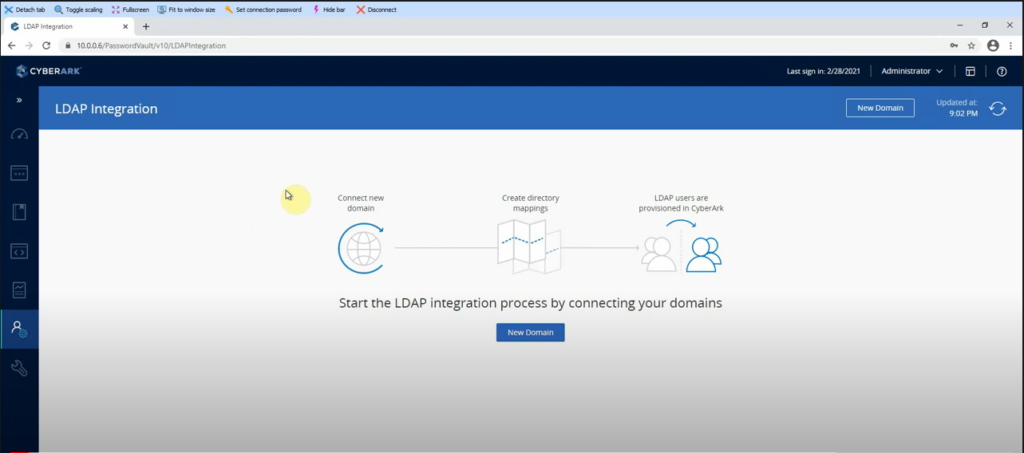
- Logon to the PasswordVault Web Access (PVWA) using a user with administrative rights
- Navigate to LDAP integration page and click “New Domain”
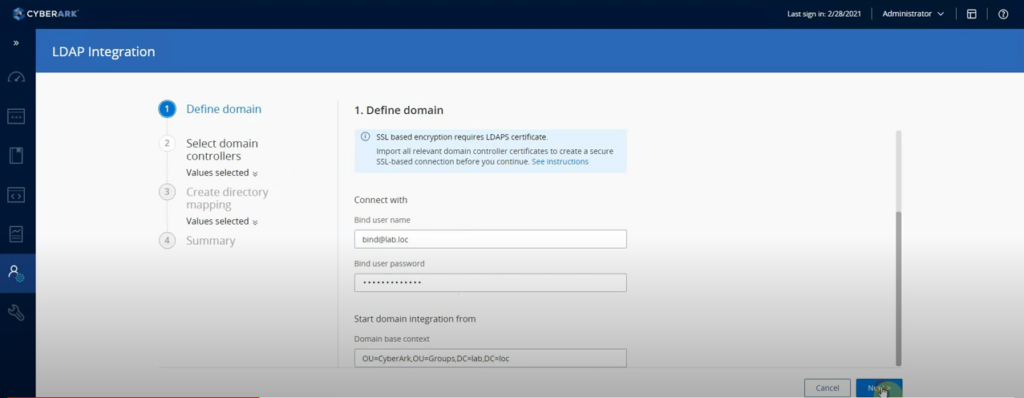
- In the next page, input the domain related information and click next:
- Domain Name: This the actual domain fqdn. (i.e lab.loc)
- Connect via: Toggle this to ON position for secure connection
- Bind user name: Bind user name added in the format “user@domain.com”
- Bind user password: Valid password for the bind user
- Domain base context: Highest level in the domain from where the Bind user will read information from.
- In the next page, select the domain controllers to connect with and click the connect button.

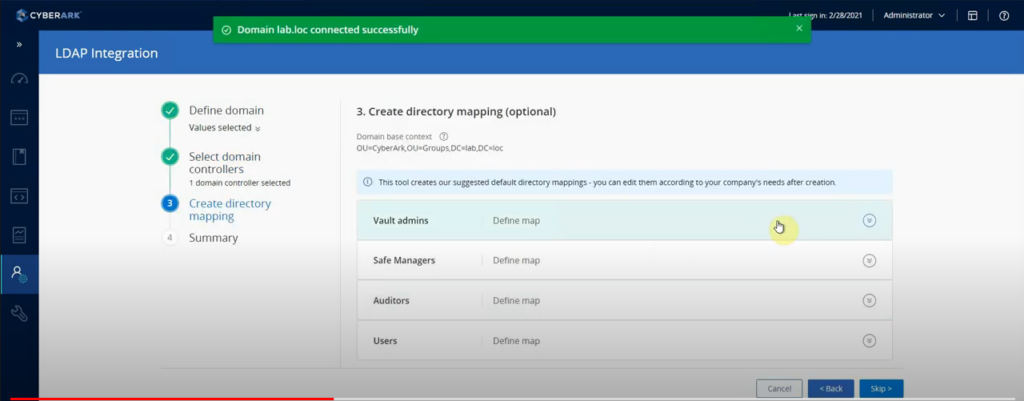
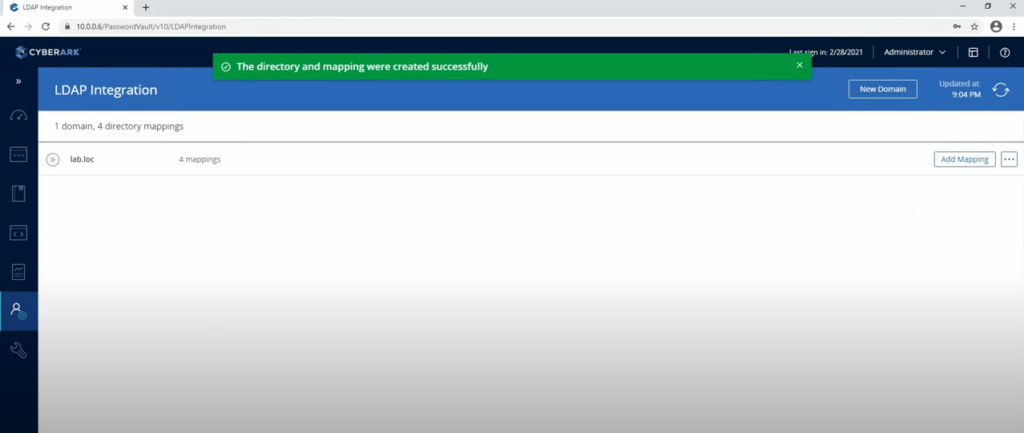
- In the next page, create the directory mappings and click Next.
This is optional as it can be done later as well.
The mapping maps CyberArk to various AD groups that are used for different roles in CyberArk.
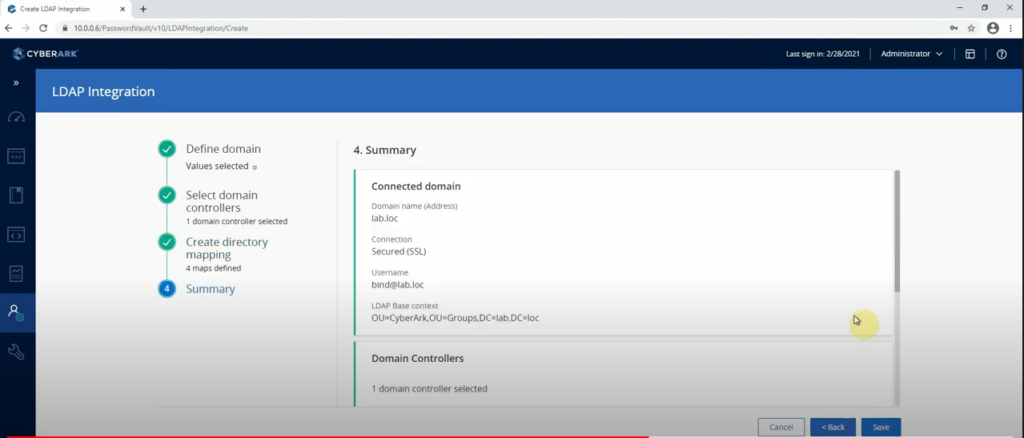
- Review the integration information in the summary page and click Save
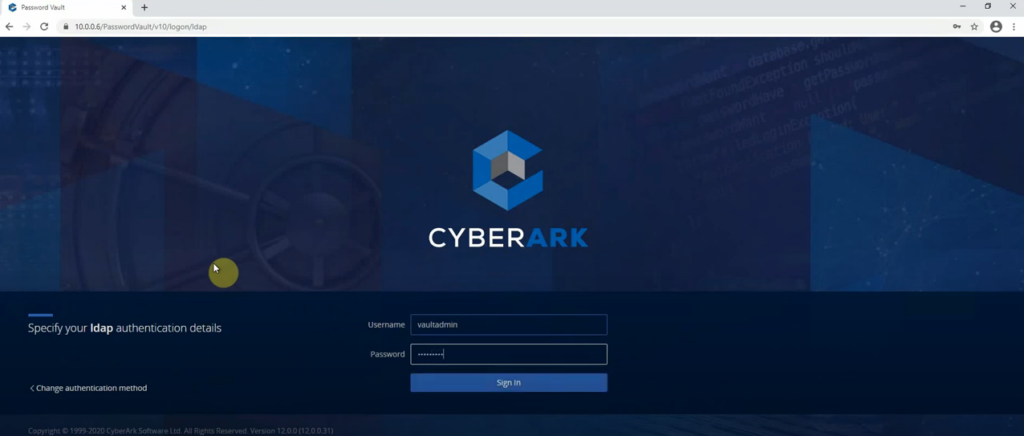
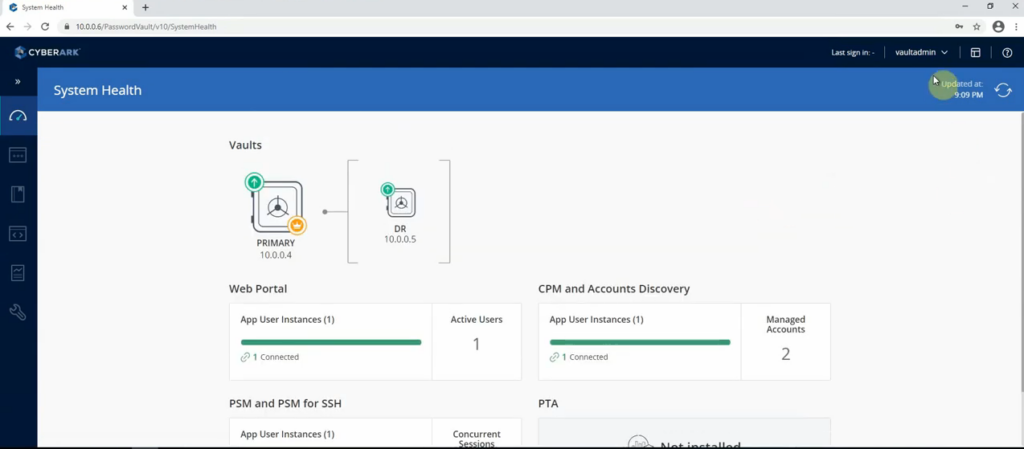
- Test the LDAP logon
Leave A Comment