Following post shows the steps to take to setup a small lab in hyper-v.
We love other virtualization tools like Virtual box and VMWare, but Windows has Hyper-V builtin and we can certainly make use of it.
Our Hyper-V lab running on a Windows 10 machine consists of the following:
- Kali Linux
- Metasploitable Linux
- pfsense (Acting like a firewall and router)
- Domain Controller running on Windows Server 2019 (Trial)
These machines are setup in Hyper-V as follows: (Note: This post will NOT show how to deploy virtual machines in hyper-v)
Table of Contents
1. Ensure Hyper-V is enabled on Windows 10
On Windows 10 machine, click the start button and search for the term “Windows Features”
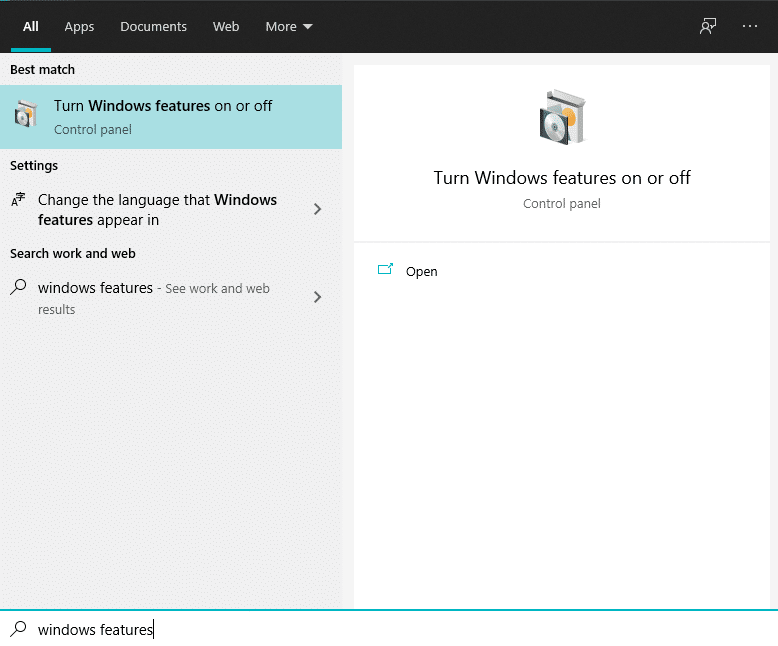
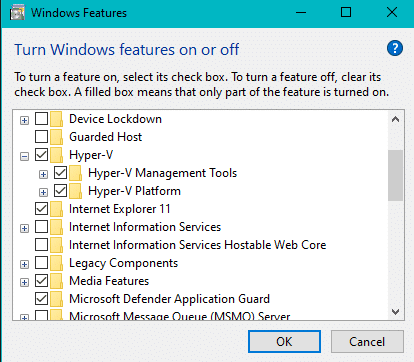
In the popup windows for Windows Features, ensure Hyper-V is selected. If it is not selected, select it and restart the computer.
2. Prepare Network Adapters in Hyper-V
- Open Virtual Switch Manager from the Actions panel in Hyper-V
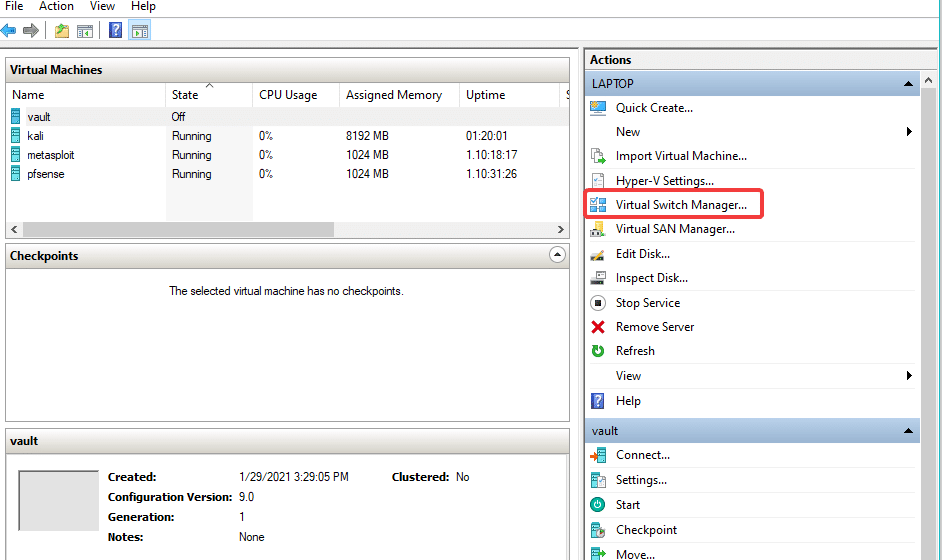
- Create required switches
Create a private and an external switch. Our Virtual machines will use the private switch.
The pfsense virtual machine will use the private switch and the external switch.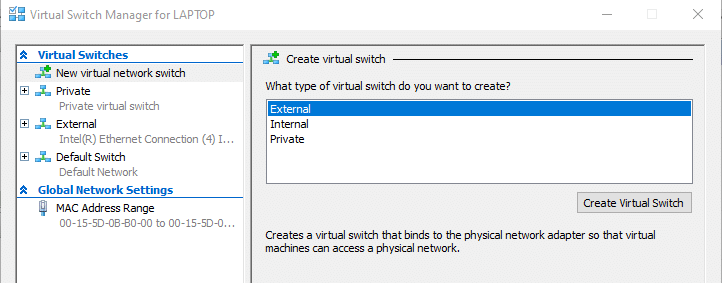
3. Deploy Virtual Machines
Deploy all of the Virtual machines in Hyper-V.
Use following links to download the ISO images of the required Operating Systems.
- https://www.kali.org/downloads/ for Kali Linux
- https://sourceforge.net/projects/metasploitable/ for metasploitable
- https://www.microsoft.com/en-us/evalcenter/evaluate-windows-server-2016
- https://www.microsoft.com/en-us/evalcenter/evaluate-windows-server-2019
- https://www.pfsense.org/download/ for pfsense
4. Virtual Machine Settings
We will need to attach all virtual machines to the private switch.
In addition, we will need to add an extract NIC, connect it to the external network and add this NIC to the pfsense machine.
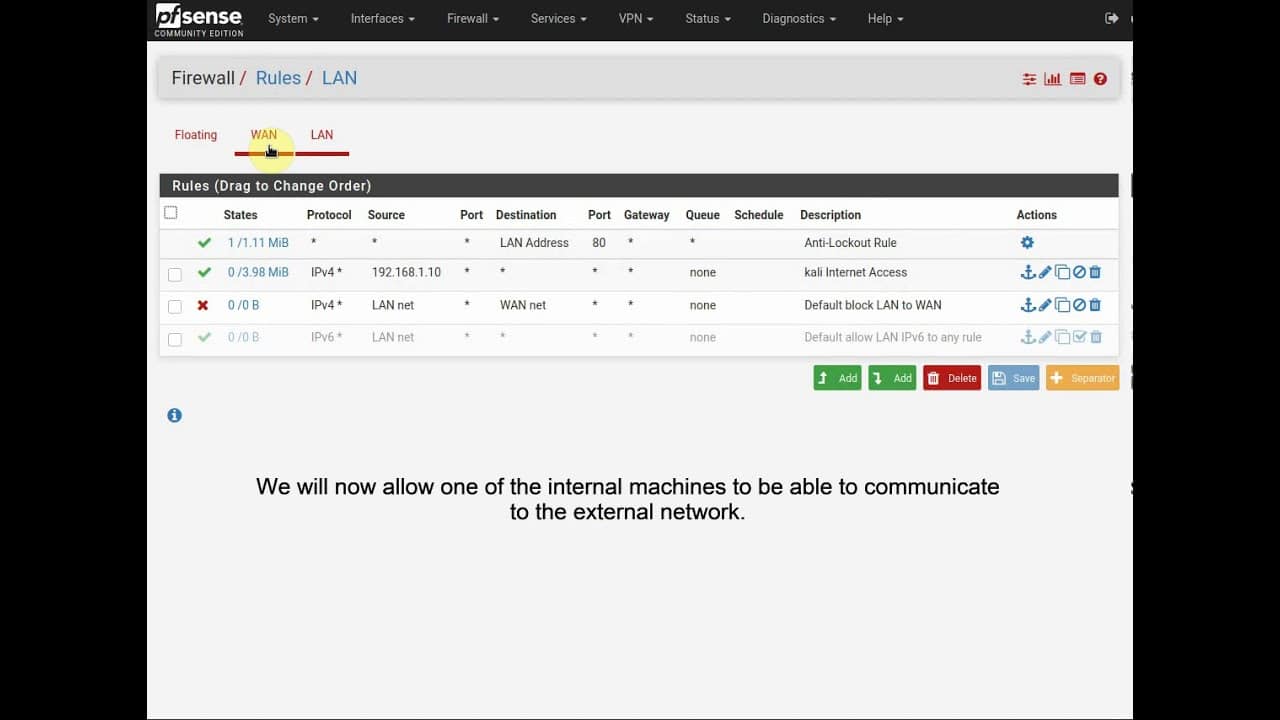
5. pfsense Firewall Rules
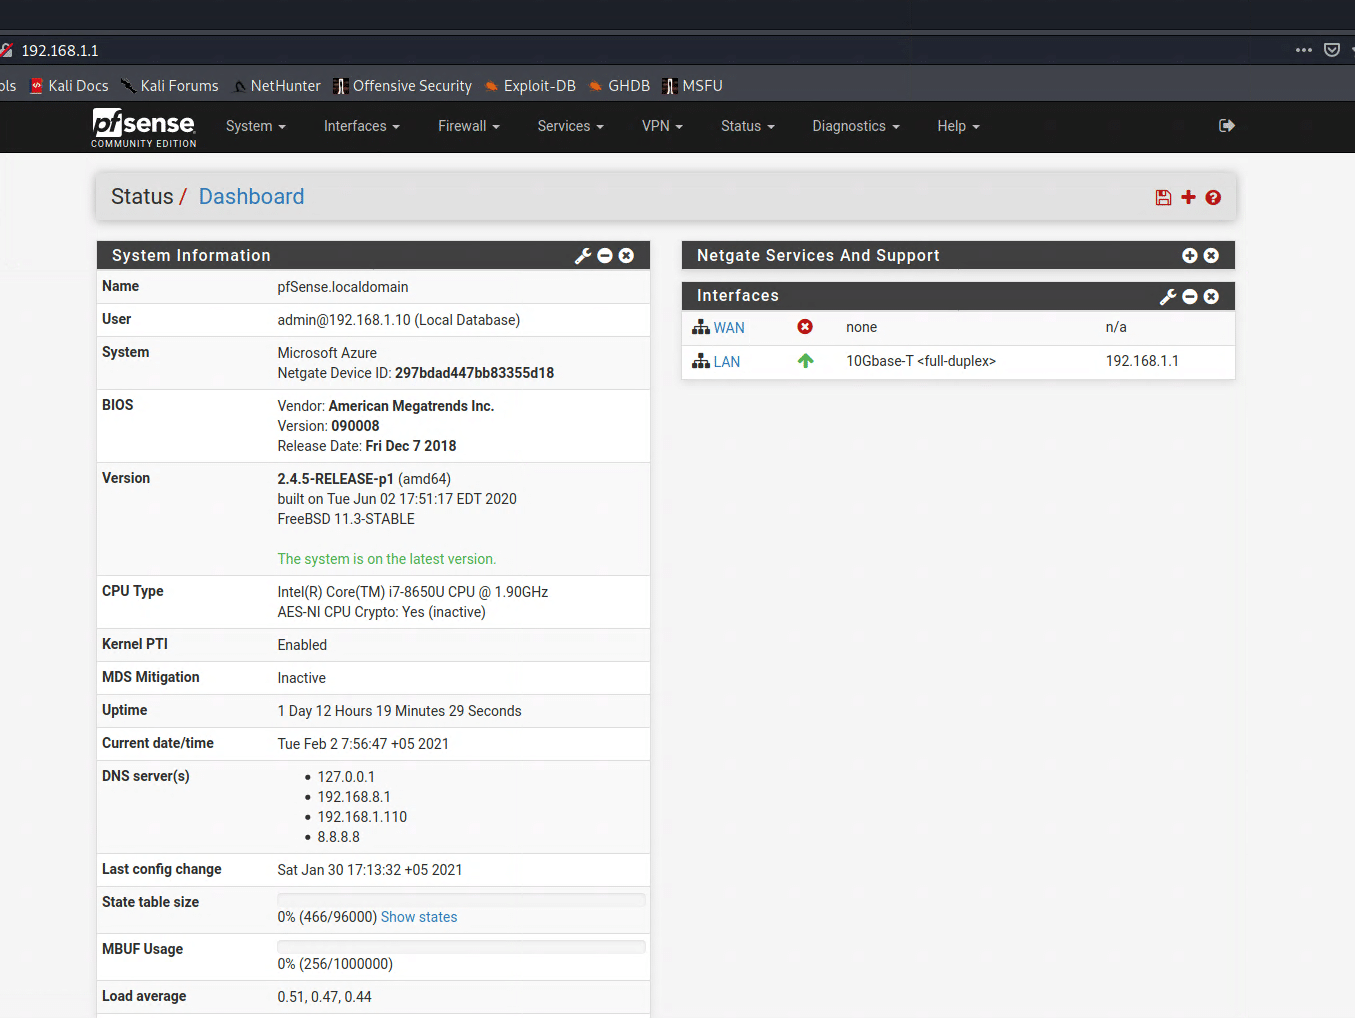
Once the machines are deployed and running, connect to pfsense web portal using the IP address of the private NIC attached to pfsense.
Logon to pfsense web portal. (Default user is admin and the default password is pfsense
Navigate to Firewall –> Rules –> LAN
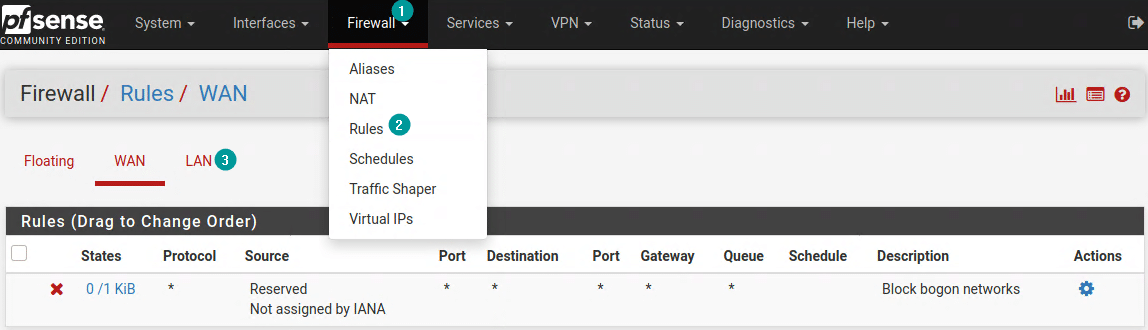
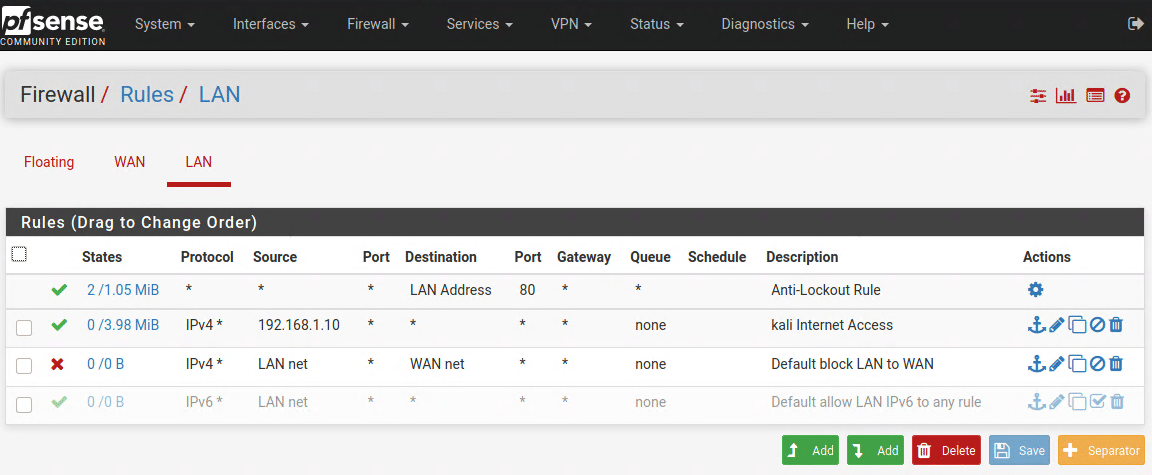
Edit the firewall rule to block all LAN net to WAN net traffic and then add a rule to allow traffic from your selected Virtual Machine.
Leave A Comment