Audience for this tutorial are the home users that want to block ads with a quick and easy setup tool.
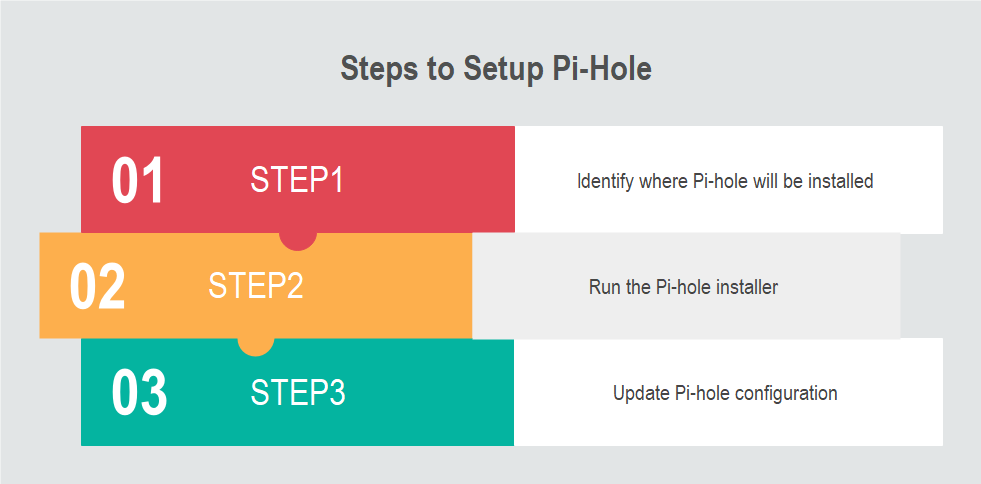
In this tutorial we will walk through the steps to install and setup Pi-hole. Pi-hole is an effective tool that works on the DNS level to block ads across your network.
There are many other ad blockers available that can be installed on browsers, however, it becomes a challenge to install and maintain ad blocker on every device in our home.
In our setup, we used an old laptop running Ubuntu and installed Pi-hole on it.
We will share another tutorial with Pi-hole deployed in a Docker container.
| Distribution | Distribution | Architecture |
|---|---|---|
| Raspberry Pi OS (formerly Raspbian) | Stretch / Buster | ARM |
| Ubuntu | 16.x / 18.x / 20.x | ARM / x86_64 |
| Debian | 9 / 10 | ARM / x86_64 / i386 |
| Fedora | 31 / 32 | ARM / x86_64 |
| CentOS | 7 / 8 | x86_64 |
Time needed: 10 minutes
Pre-requisites:
1. Computer running any modern Linux distribution however only the listed in the supported OS are officially supported by Pi-hole (We used Ubuntu 18.04 and had no issues)
2. There should be atleast 2GB of free space – Ideally, alot more than just 2GB of space
3. Minimum of 51MB of RAM – Ideally, there should be alot more than just 512MB of RAM
- Assign static IP to the machine running Pi-hole
This is a very important step. We can assign the IP address manually on the machine, or we can also assign static IP to the machine through the router settings. Following video shows how to assign static IP in Linux. To set the IP of your machine to 192.168.1.10, run the following commands:
#Assign static IP address to eth0
ifconfig eth0 192.168.1.10 netmask 255.255.255.0 up
#Setup default gateway
route add default gw 192.168.1.1
#Add dns DNS info
echo “nameserver 8.8.8.8” > /etc/resolv.conf
Ensure there is network connectivity by pining your favorite site and ensure a response is received. - Enable SSH on your machine (Optional)
Enabling SSH will allow you to connect to your machine running Pi-hole from your primary computer.
Run the following command from the terminal of your Linux machine:
sudo apt updatesudo apt install openssh-server - Connect to Linux machine via SSH client (Optional)
Use putty or another SSH client to connect to your Linux machine
- Install Pi-hole
While connected to your Linux machine remotely via SSH or while work on the Linux machine, run the following command to install Pi-hole by running the following command from terminal: (Reference)
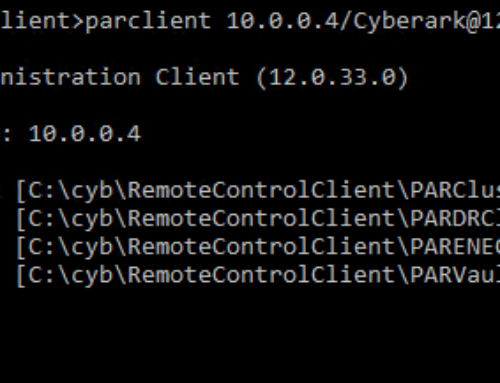
curl -sSL https://install.pi-hole.net | bash - Validate Pi-hole installation
Upon completion of previous step, you will receive the installation successful message.
Following shows the Pi-hole status post installation: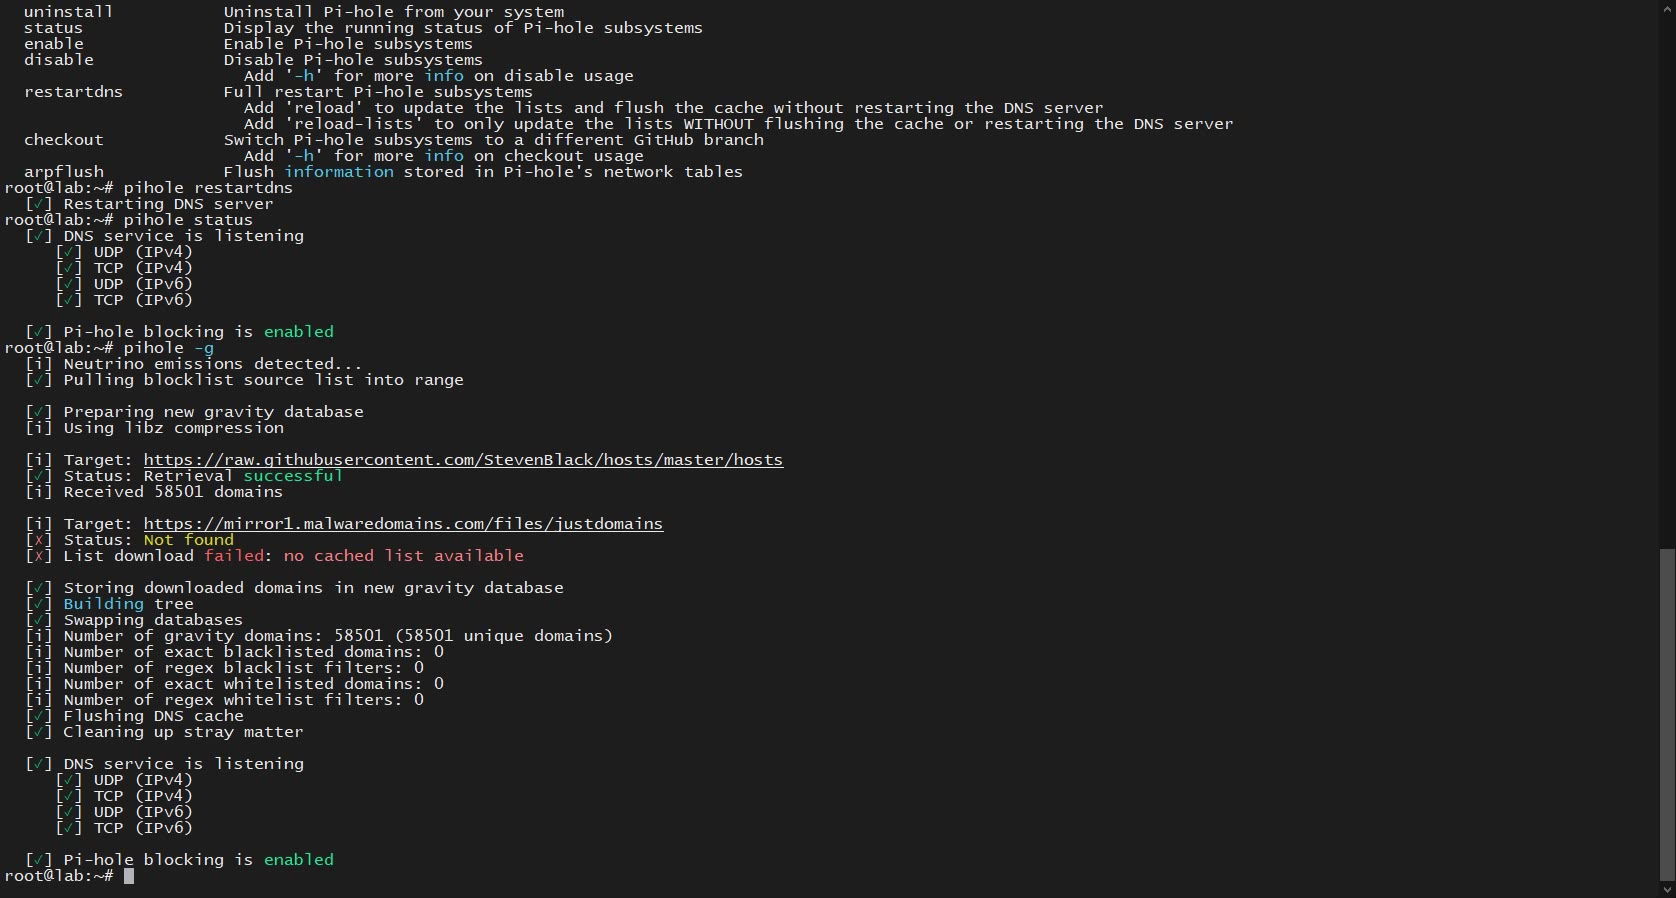
- Update password for Pi-hole admin
Pi-hole web interface admin account password can be set by running the following command:
pihole -a -p
You can also choose to not set any password to access the admin panel but it is certainly not recommended. - View Pi-hole Web Interface
From your primary computer open a browser and open the Pi-hole admin console by visiting the IP address of your Linux machine.
Alternatively, if your Linux machine has a UI installed open the browser on your Linux machine and navigate to localhost - Pi-hole GUI view as regular user
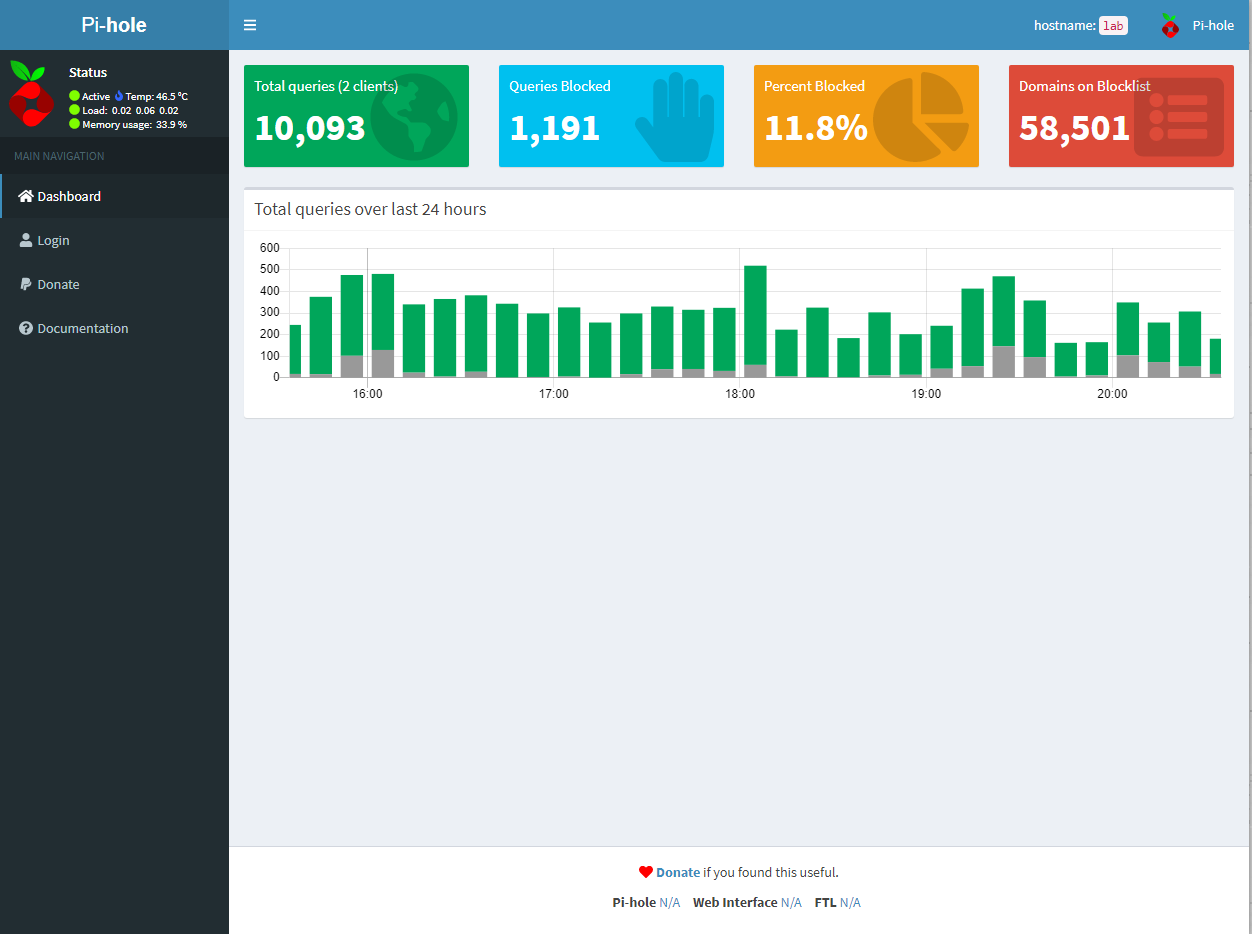
- Pi-hole Admin user view
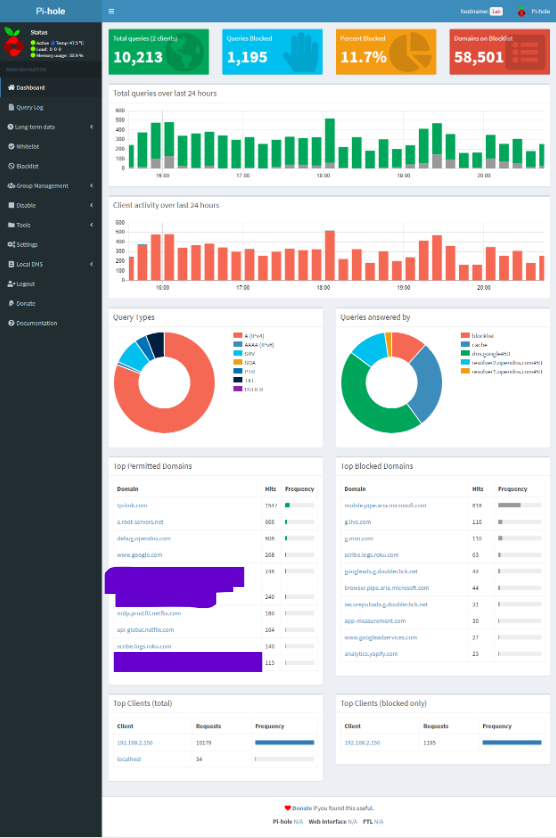
We hope that you liked this tutorial and leave your comments for any help with that we can provide for this quick project.


Leave A Comment