Time needed: 5 minutes
Following quick summary provides the steps to generate a certificate request, getting it signed and importing signed certificate.
-
Table of Contents
Launch Microsoft Management Console (MMC)
Press Windows Icon + R
type “mmc” in the RUN box and click OK to launch the MMC console
-
Add/Remove Snap-in
Click File –> Add/Remove Snap-in from the Microsoft Management Console (MMC)
Select Computer account and click Next
Leave next screen at default (Local computer) and click Finish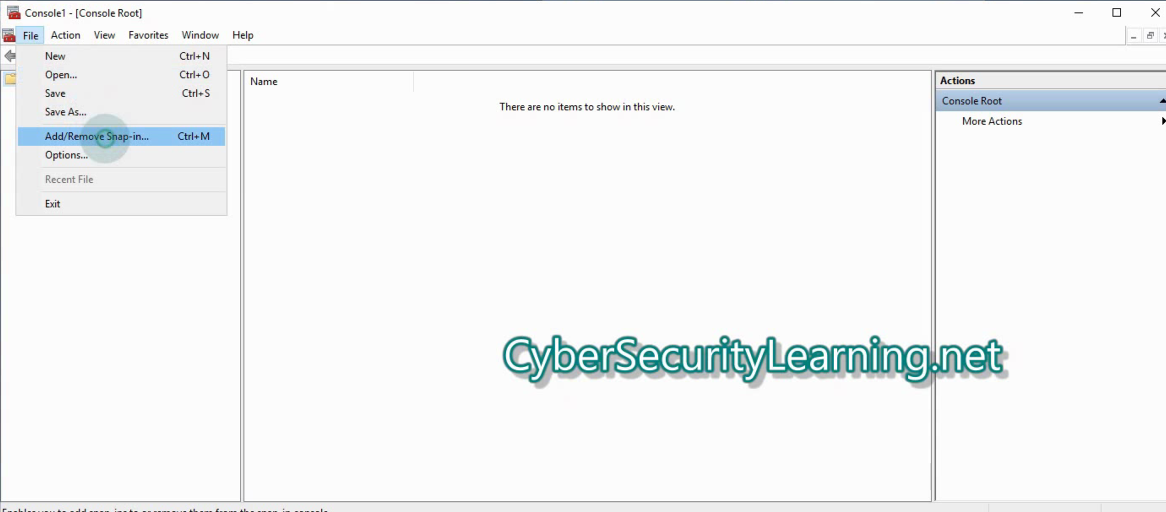
-
Add Certificates Snap-in Select certificate and click Add –> OK
-
Create Certificate Signing Request (CSR)Right click the Personal Certificate Store –> Advanced Operations –> Create Custom Request –> Next
Select Proceed Without Enrolment policy –> Next
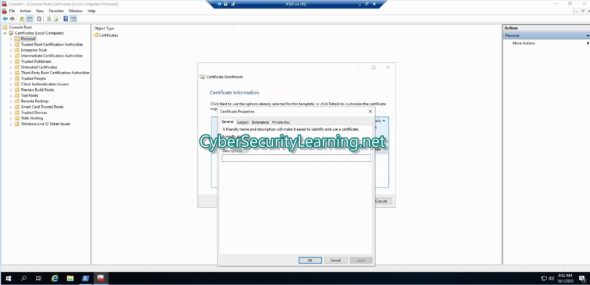
Select Details –> Properties
In Certificate Properties General Tab –> Add the Friendly Name
Subject Tab –> Select appropriate Subject name and alternative name
Private Key Tab –> Change Security key length to 2048Save the certificate
-
Sign the Certificate Request
Logon to the Certificate Authority and get the CSR signed
- Import Certificate to the Server
Leave A Comment